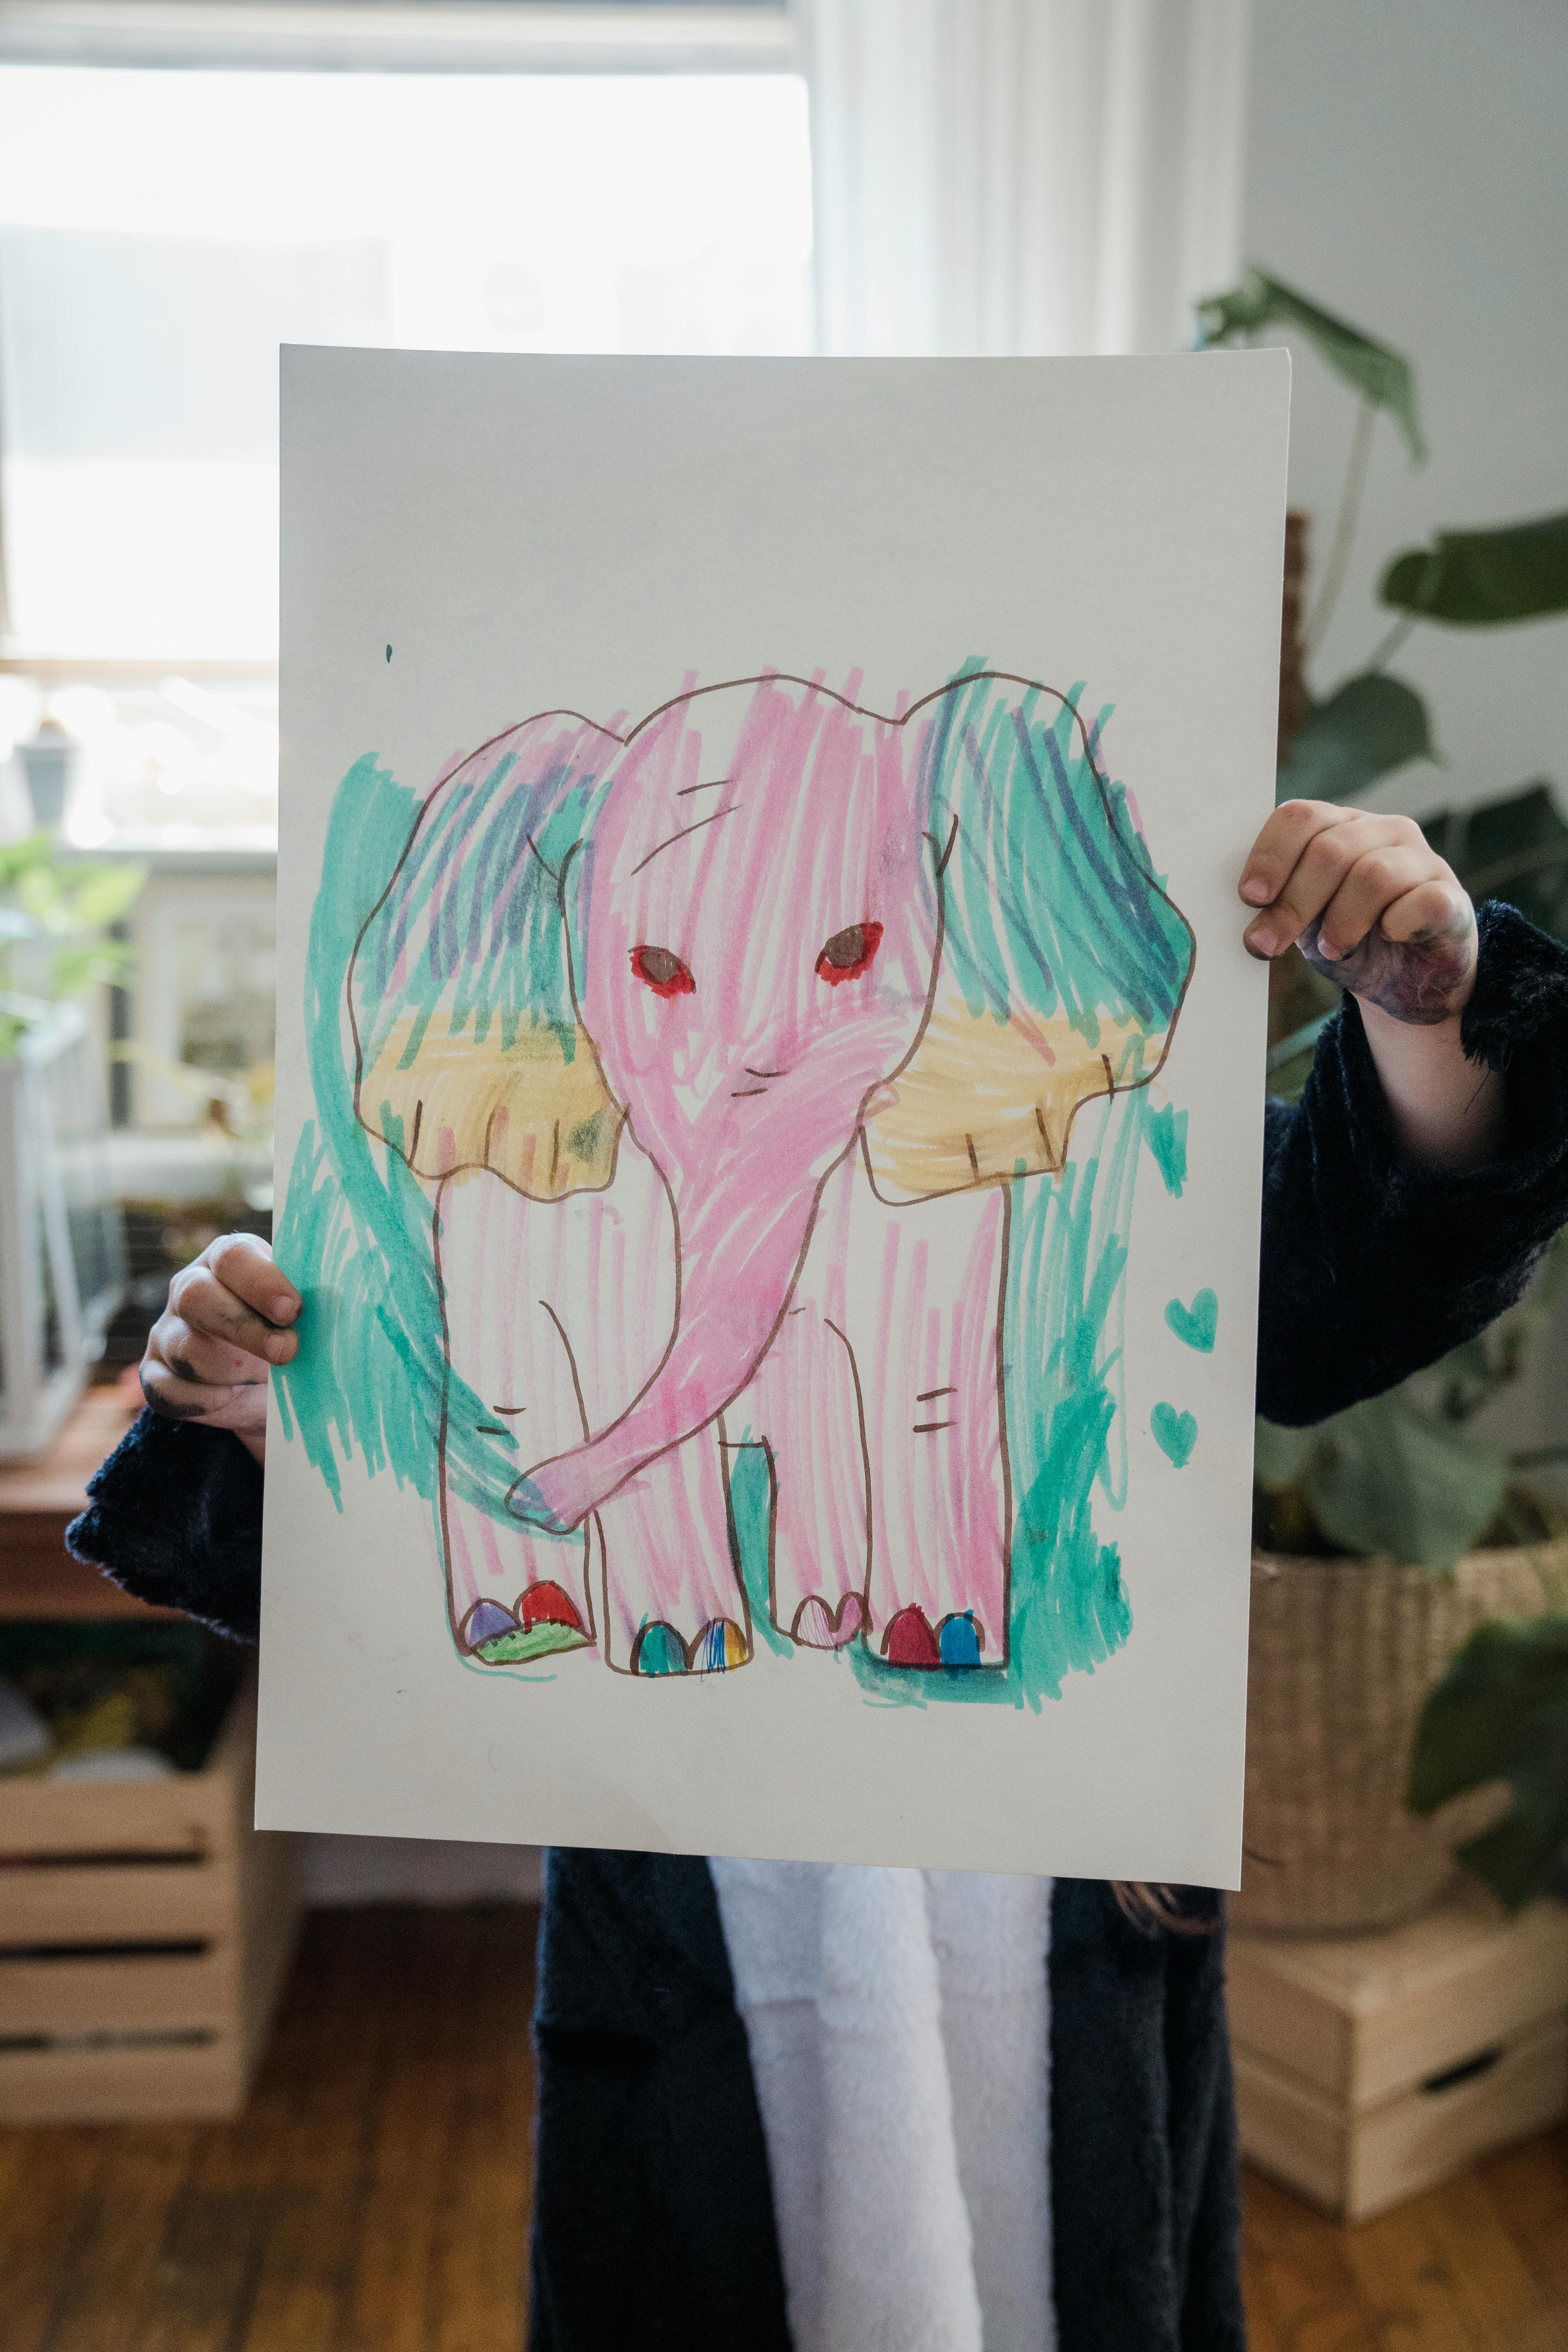
Stories Illustration is a magical way for kids to develop creativity, improve storytelling skills, and express themselves artistically. It’s also a fantastic alternative to screen time, keeping kids engaged in a productive and fulfilling activity. This guide provides step-by-step instructions and fun resources to help kids illustrate their own stories, from character creation to adding colors, scenes, and emotions. Here are a few techniques I use with my kid to enhance drawing and storytelling skills.


Step 1: Brainstorm Your Story
Before beginning any stories illustrations, your child needs a story idea. Encourage them to think about:
- Who the story is about (main character)
- What happens in the story (plot)
- Where it takes place (setting)
It can be as simple as “A brave cat goes on an adventure to find a hidden treasure” or “A young explorer who discovers a magical forest.”
Tip: A Story Book Kit can be a wonderful way to help kids brainstorm, with prompts and spaces for character sketches.
Step 2: Create Your Main Character
Once they have an idea, the next step is to design the main character! This character will be the “star” of their story, so they should think about details like:
- Appearance: What does the character look like? What are they wearing?
- Personality: Are they brave, curious, funny?
- Special Features: Do they have any unique features, like big glasses, a superhero cape, or animal ears?
Helpful YouTube Channels and Websites:
- Draw So Cute – This channel offers step-by-step tutorials to create adorable characters, perfect for young illustrators.
- Art for Kids Hub – A family-friendly site with easy-to-follow drawing tutorials for kids of all ages.
Step 3: Sketch Basic Scenes
Now, it’s time to plan the scenes. Guide your child to think about three key scenes in their story:
- Beginning Scene – How does the story start?
- Middle Scene – What challenge does the character face?
- End Scene – How is the story resolved?
Each scene can start as a simple sketch, with rough outlines of the character and setting. Encourage them to keep it loose and focus on capturing the essence of each scene.
Tip: Use large drawing paper to give kids plenty of room for creativity, and consider a sketchbook to keep all story scenes organized.
Step 4: Add Details to Characters and Backgrounds
Once they’ve sketched the basic scenes, it’s time to add details:
- Background Elements: Add trees, mountains, or buildings to create depth.
- Facial Expressions: Show emotions through character expressions to make the story more engaging.
- Props: Give characters important items, like a magic wand, a map, or a treasure chest, to enhance the story.
Helpful Resource:
- Kids’ Drawing Books with guides on backgrounds and facial expressions can be helpful for detailed elements, keeping children inspired as they add depth to their illustrations.
Step 5: Color Your Story
Adding color brings illustrations to life! Depending on the child’s age and skill level, they can use crayons, colored pencils, or watercolor paints.
- Colored Pencils: Great for details and blending.
- Watercolor Paints: Perfect for adding soft, expressive backgrounds.
Tip: A Kids’ Watercolor Set or Colored Pencil Set will give them everything they need to add vibrant color to their story.
Video Tutorial:
- Art for Kids Hub on YouTube provides beginner-friendly tutorials on basic coloring techniques, ideal for kids who want to experiment with color.
Step 6: Add Speech Bubbles and Story Text
For a true “storybook” feel, kids can add dialogue or narration to their illustrations. Speech bubbles are a fun way to show characters talking, while simple text below or above the illustration can narrate the story.
- Write in Pencil First: To avoid mistakes, let them write lightly in pencil first before going over in pen or marker.
- Add Simple Words or Sentences: This can be as simple as “Oh no!” or “We did it!” to help tell the story.
Tip: For younger kids, parents can help with the writing part or provide a Beginner Lettering Book to teach them basic lettering styles.
Step 7: Create a Cover for Your Story
The final step is designing a cover for their story! This can include:
- The title of their story
- An illustration of the main character or key scene
- Their name as the “author”
Tip: Use thicker paper for the cover and consider laminating it to make the book feel “official.”
Step 8: Bind the Pages Together
To turn their illustrations into a real book, bind the pages together. You can use simple materials like:
- Stapling the pages along the side
- Using a small binding kit to make it look like a real book
Helpful Websites and YouTube Channels for Extra Guidance
Here are some additional resources that make illustrating stories easy for beginners:
- The Artful Parent – This website offers numerous creative activities and drawing tutorials that are perfect for young artists and parents looking for screen-free activities.
- Red Ted Art – A wonderful website filled with craft and drawing activities for kids, including simple steps for creating illustrated storybooks.
- Art for Kids Hub on YouTube – A family-run channel with tutorials that make drawing fun and accessible for children of all ages.
Extra Tips for Parents to Keep Kids Motivated
- Encourage Praise: Recognize their effort, even if the drawings don’t look “perfect.”
- Set a Drawing Routine: A few minutes each day keeps them consistent and improves their skills.
- Use Positive Resources: Educational drawing resources like art supplies kits and character drawing books can be motivational.
Final Thoughts
Illustrating a story is a fulfilling activity that not only keeps kids busy but also nurtures their creativity and storytelling skills. Through drawing their own story, kids learn problem-solving, focus, and self-expression, turning screen-free time into a rewarding experience.
By following this guide, young artists can explore their creative potential and feel the joy of bringing a story to life through illustration. Plus, with the right tools, tutorials, and encouragement, kids will develop a skill they can carry with them for life!
Please note that some of the links in this post are affiliate links. This means that if you click on the link and purchase the item, I will receive a small commission at no additional cost to you. As an Amazon Associate, I earn from qualifying purchases. I only recommend products and services that I believe will add value to my readers. Thank you for your support!


